
Make a professional invoice in Microsoft Word from scratch or with a free template. Step-by-step guide with exact settings — takes under 10 minutes start to finish.
Option 1 — Start from a Built-In Word Template
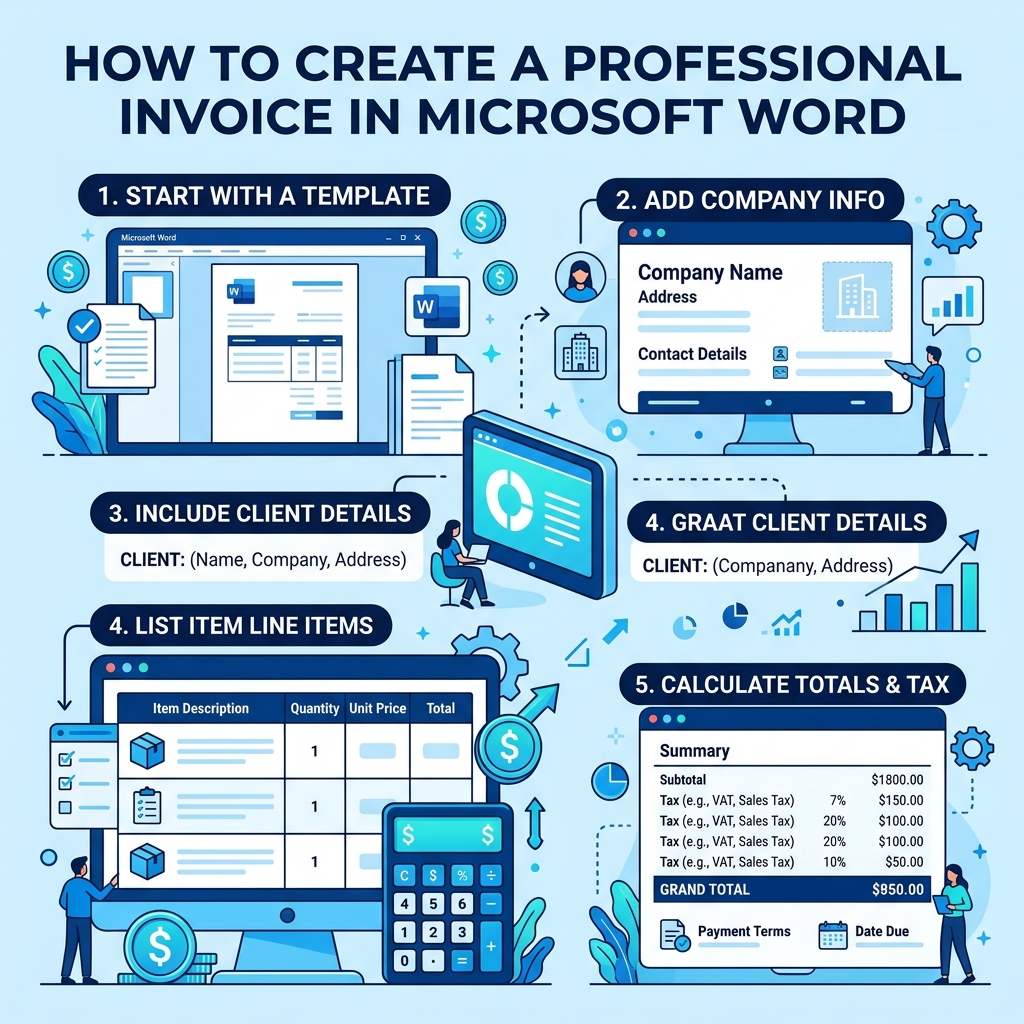
Microsoft Word includes several invoice templates. Here is how to find and use them:
- Open Microsoft Word
- Click File → New
- In the search bar, type "invoice" and press Enter
- Browse the templates — select the one that best matches your business style
- Click Create
- Replace the placeholder text with your actual details
- Save as a new file (not over the template) — File → Save As → Invoice_[ClientName]_[Date].docx
Limitation: Word's built-in templates are not always well-structured. Some have design limitations (non-editable logos, clunky table formatting) that make customization frustrating. The method below gives you full control.
Option 2 — Build an Invoice from Scratch in Word
This method takes about 15 minutes the first time, and 5 minutes every time after. Save the finished blank as your master template.
Step 1 — Set your page layout
Open a blank document. Go to Layout → Margins → Narrow (0.5 inch on all sides) to give yourself more usable space on the page.
Step 2 — Add your header
At the top, add: your company name (bold, 18–20pt), your address, phone number, and email. If you have a logo, insert it via Insert → Pictures and position it top-left or top-right.
Step 3 — Add the INVOICE label and meta information
Below your header, in a large font (24pt, bold), type "INVOICE". Below that, in a 2-column layout (use a table with 2 columns, no borders), add:
- Left column: Bill To (client name and address)
- Right column: Invoice Number, Invoice Date, Due Date, Payment Terms
Step 4 — Create your line-item table
Insert a table (Insert → Table) with these columns:
| Description | Qty | Unit Price | Amount |
|---|---|---|---|
| (your service or product) |
Format the header row in a contrasting colour (right-click the row → Table Properties → Shading). Set column widths: Description 50%, Qty 10%, Unit Price 20%, Amount 20%.
Step 5 — Add totals
Below the line items table, add a right-aligned totals section:
- Subtotal: [sum of line items]
- Tax / VAT (if applicable): [rate × subtotal]
- Discount (if applicable): [amount]
- Total Due: [final amount] — bold this line
Step 6 — Add payment instructions and notes
At the bottom of the invoice, add your payment details (bank name, sort code/routing number, account number, PayPal email, Wise email, etc.) and any notes ("Please reference invoice number [X] when making payment.").
Step 7 — Save as PDF before sending
File → Save As → PDF. Always send invoices as PDF — it preserves your formatting and prevents accidental editing by the client.
What to Include on Every Invoice — 14 Fields
- Your name / company name
- Your address
- Your phone and email
- Your logo (optional)
- Client name and address
- Invoice number (unique, sequential)
- Invoice date
- Due date
- Payment terms (Net 7, Net 30, etc.)
- Itemized services / products with quantities and prices
- Subtotal
- Tax (if applicable)
- Total due
- Payment instructions
Why Word Invoices Have Limitations
Building a Word invoice is perfectly valid — but it has practical limits:
- No automatic calculations — you have to type totals manually or set up complex formulas
- No automatic invoice numbering
- No client database — you have to retype client details every time
- Formatting breaks on different versions of Word
- No built-in payment tracking or reminders
For a small number of invoices, Word is absolutely fine. If you invoice more than 10–15 clients per month, a purpose-built invoice tool (Templix AI, FreshBooks, Wave) saves significant time and reduces errors.
Frequently Asked Questions
Can I use Word tables to create the invoice line items?
Yes — tables are the most reliable way to create a structured, aligned line-item list in Word. Use Insert → Table and then format the header row with a background colour to distinguish it from the data rows.
How do I number my invoices in Word?
Word doesn't auto-number documents. Create a numbering convention (INV-001, INV-002) and manually increment it for each new invoice. Keep a log (a simple spreadsheet) of issued invoice numbers.
Should I save my Word invoice as .docx or PDF?
Save your master template as .docx and always export a PDF copy to send to clients. PDFs preserve formatting and cannot be accidentally edited.
How do I add my logo to a Word invoice?
Insert → Pictures → This Device (or from an online source). Resize the image by dragging its corners. Set text wrapping to "In Line with Text" for predictable positioning.
Is there a faster way to create professional invoices?
Yes — use Templix AI's free invoice templates. Fill in your details, add line items, and the total is calculated automatically. Download as PDF or Word in one click, no sign-up needed.
2026 Invoice Compliance & Fast Settlement Checklist
Verify these core line items before dispatching your billing documentation:
Sequential & Distinct ID
Maintain structured, unbroken numbering (e.g. INV-2026-001) for clean tax audits.
Direct Payment Rails & Pay Now Button
Embed Stripe, ACH, or instant wire links directly on the PDF for 1-click settlement.
Itemized Tax & SAC/HSN Codes
Clearly isolate gross subtotal from applicable GST/VAT percentages and line deductions.
Explicit Due Dates & Late Terms
State exact calendar deadlines and recurring late-interest policies upfront.


Reviewed by Finance & Document Structuring Specialists
Ready to put this into practice?
Browse Templix AI's free professional templates. Customize online, edit with AI, and download as PDF or Word — in minutes.